
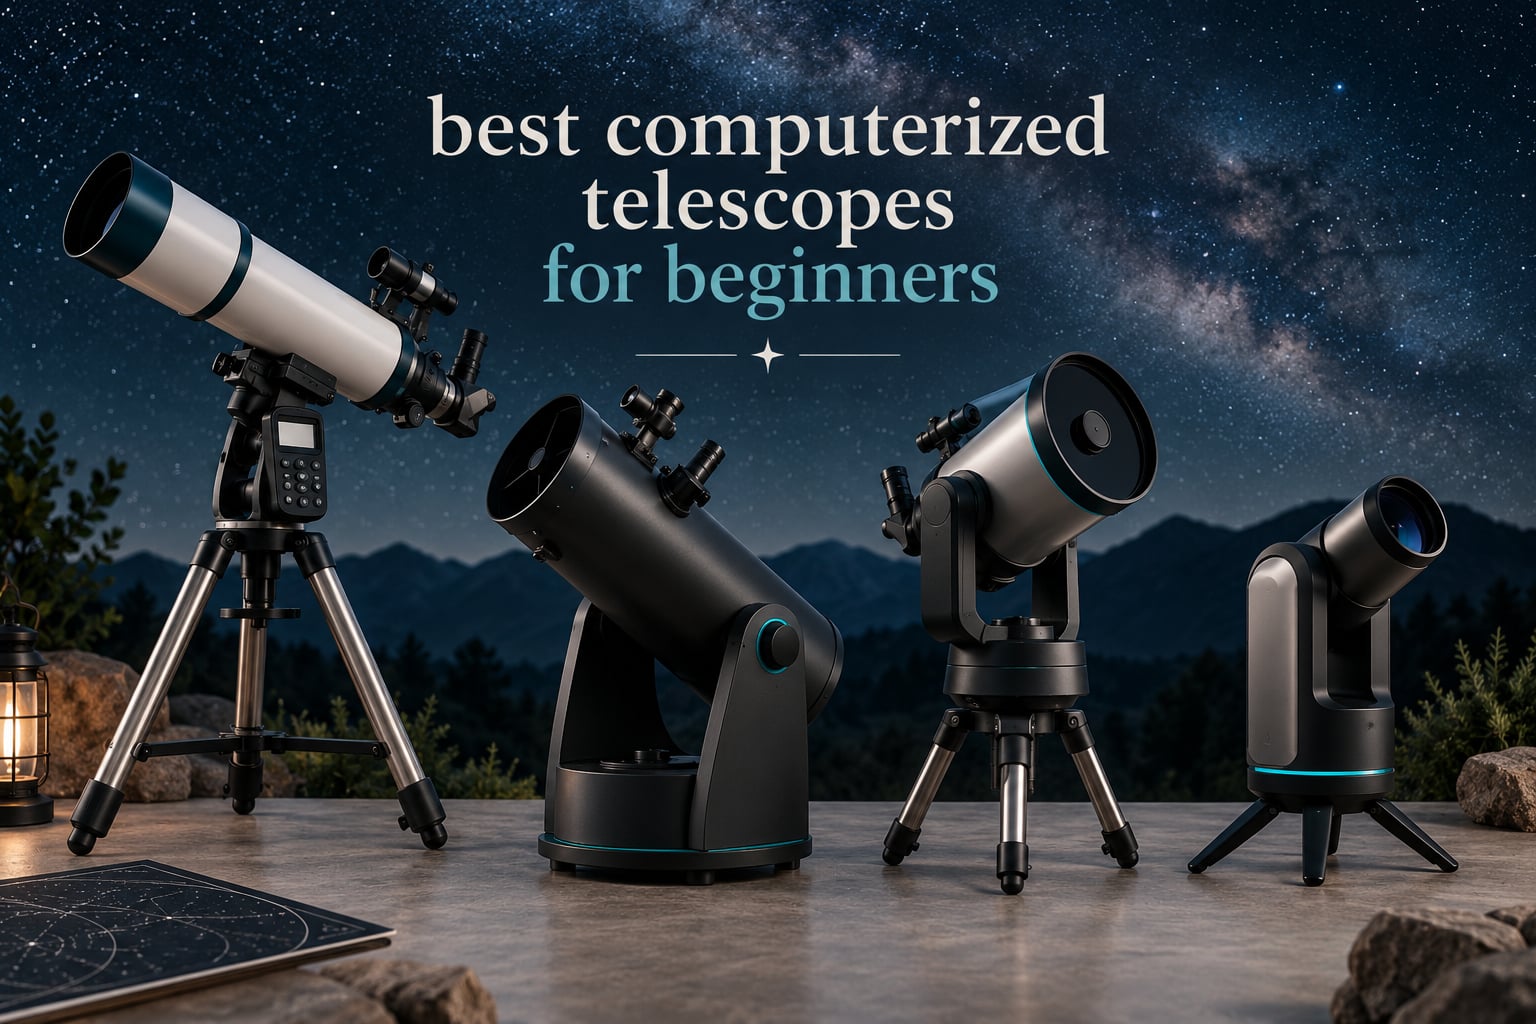
There is a specific kind of frustration that hits first-time telescope buyers on night two. You got the box open, you read the manual, and now you are standing in a cold garden holding a tube of glass at a vague patch of sky, trying to work out whether the smudge above the fence is Andromeda or a cloud. The optics are fine. The problem is that nobody taught your telescope where to look.
A computerized telescope solves that specific problem. Electronics in the mount work out where you are pointing, then drive the tube to the target you pick from a built-in sky database, so Saturn lands in the eyepiece while you are still reading the on-screen instructions. That convenience is why these scopes dominate the “best computerized telescopes for beginners” search results, and why they show up so heavily in what beginners actually buy.
We put six of them side by side for this guide: three motorized or app-guided eyepiece scopes and two all-in-one smart telescopes, plus one equatorial that tracks without pointing for you. Between them the six models carry more than 6800 owner reviews, and we read every recurring complaint in them. What follows is the shortlist, plus the framing no competitor gives you: computerized telescopes fall into three distinct categories, and picking the wrong one is the commonest expensive mistake a beginner makes. We apply the same testing and disclosure standards across our beginner buying guides here, from our beginner snowboard picks to our beginner putter reviews.
Our best overall pick is the Celestron NexStar 8SE, an 8-inch Schmidt-Cassegrain with a 40000+ object database that will outgrow most beginners within a year. If your budget is tighter, the Celestron NexStar 127SLT does the same job in a smaller, lighter case. New to astronomy entirely and buying for a family? The Celestron StarSense Explorer LT 114AZ removes the alignment anxiety completely.
Table of Contents
What Are Computerized Telescopes?
A computerized telescope is one with electronics built into the mount that point it at, and sometimes track, a celestial object for you. Instead of star-hopping across the sky by hand, you enter your location, pick a target from a built-in object database, and the motors slew the tube to it and hold it steady while the sky turns. You still look through an eyepiece on most of them, and you still see with your own eyes.
That last detail is what separates them from smart telescopes, which have a built-in camera and send images to a phone instead. A computerized mount does not make an image sharper or reveal fainter objects than the same optical tube without electronics. It removes the pointing problem, which is the biggest single barrier between a beginner and a first view of Saturn.
Owners on Reddit’s r/telescopes and r/space converge on this: the Celestron SkyAlign-equipped scopes are the default recommendation because alignment asks you to center three bright objects rather than identify a single star by name. You can use the Moon as one of the three, which is a small mercy when you are standing outside with red flashlight in mouth.
The Three Types of Computerized Telescope You Need to Know
Before the picks, one framework. The phrase “computerized telescope” covers three machines that look and behave very differently, and most buying mistakes come from treating them as interchangeable.
Type 1: Motorized GoTo with a hand controller. This is the classic computerized telescope. You level the tripod, enter your location and the date, run an alignment routine, and then the hand controller’s database drives the mount to whatever you select. It tracks, so the object stays put. You look through an eyepiece. The Celestron NexStar 8SE and NexStar 127SLT are both Type 1.
Type 2: App-guided, no motor. Your phone does the pattern recognition and the arrows tell you where to point. There is no database slewing and no tracking, so you move the tube by hand and objects drift out of the field as the sky turns. In exchange, you save weight and money and there is nothing to align and no motors to eat batteries. The Celestron StarSense Explorer LT 114AZ is the clearest example.
Type 3: Fully smart all-in-one. A sensor, a motorised mini mount and an app in one body. You choose a target and it finds it, tracks it and stacks images automatically. There is no eyepiece at all, so there is no live view for a family to crowd around. The ZWO Seestar S30 Pro and the DWARFLAB Dwarf Mini sit here.
If your goal is showing people planets in real time, Type 1 or Type 2. If your goal is producing images of the Milky Way from a balcony, Type 3. Buying a Type 3 hoping to show Saturn to a child through glass is the commonest mismatch we see.
Top 3 Picks for the Best Computerized Telescopes for Beginners (October 2026)

Celestron NexStar 8SE
- 203mm aperture
- 2032mm focal length
- 40000+ object database
- SkyAlign GoTo tracking


The NexStar 8SE wins on raw light grasp and database depth, and it holds its value longer than anything else we tested. The 127SLT is the same GoTo experience in a package you can actually carry to a dark site alone. The StarSense Explorer is the least intimidating first telescope on this list, and the one we would hand to a family with a curious ten-year-old.
Best Computerized Telescopes for Beginners in 2026
| Product | Specifications | Action |
|---|---|---|
| Celestron NexStar 8SE |
|
Check Latest Price |
| Celestron NexStar 127SLT |
|
Check Latest Price |
| Celestron StarSense Explorer LT 114AZ |
|
Check Latest Price |
 Celestron AstroMaster 130EQ-MD Celestron AstroMaster 130EQ-MD |
|
Check Latest Price |
 ZWO Seestar S30 Pro ZWO Seestar S30 Pro |
|
Check Latest Price |
 DWARFLAB Dwarf Mini DWARFLAB Dwarf Mini |
|
Check Latest Price |
1. Celestron NexStar 8SE – 8-Inch GoTo Schmidt-Cassegrain
Celestron NexStar 8SE Computerized Telescope – Schmidt-Cassegrain
Aperture: 203mm
Focal length: 2032mm
Mount: computerized alt-az fork
Weight: 10.88 kg
Pros
- 203mm aperture resolves fine lunar craters and Jupiter's cloud bands
- 40000+ object database with auto slew and tracking
- SkyAlign aligns on any three bright stars or planets
- StarBright XLT coatings in a compact catadioptric tube
- Expands into Celestron imaging and wireless accessories
Cons
- Far beyond a typical first-telescope budget
- No batteries or AC adapter included for long sessions
- Supplied 25mm eyepiece alone gives a narrow magnification range
- Fork arm restricts imaging setups
- 24 lb is awkward to carry solo
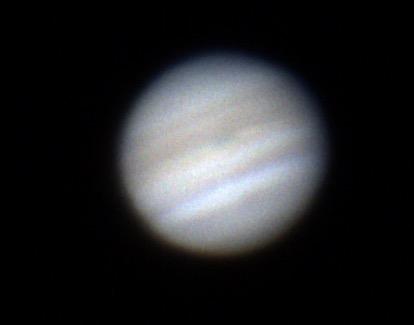
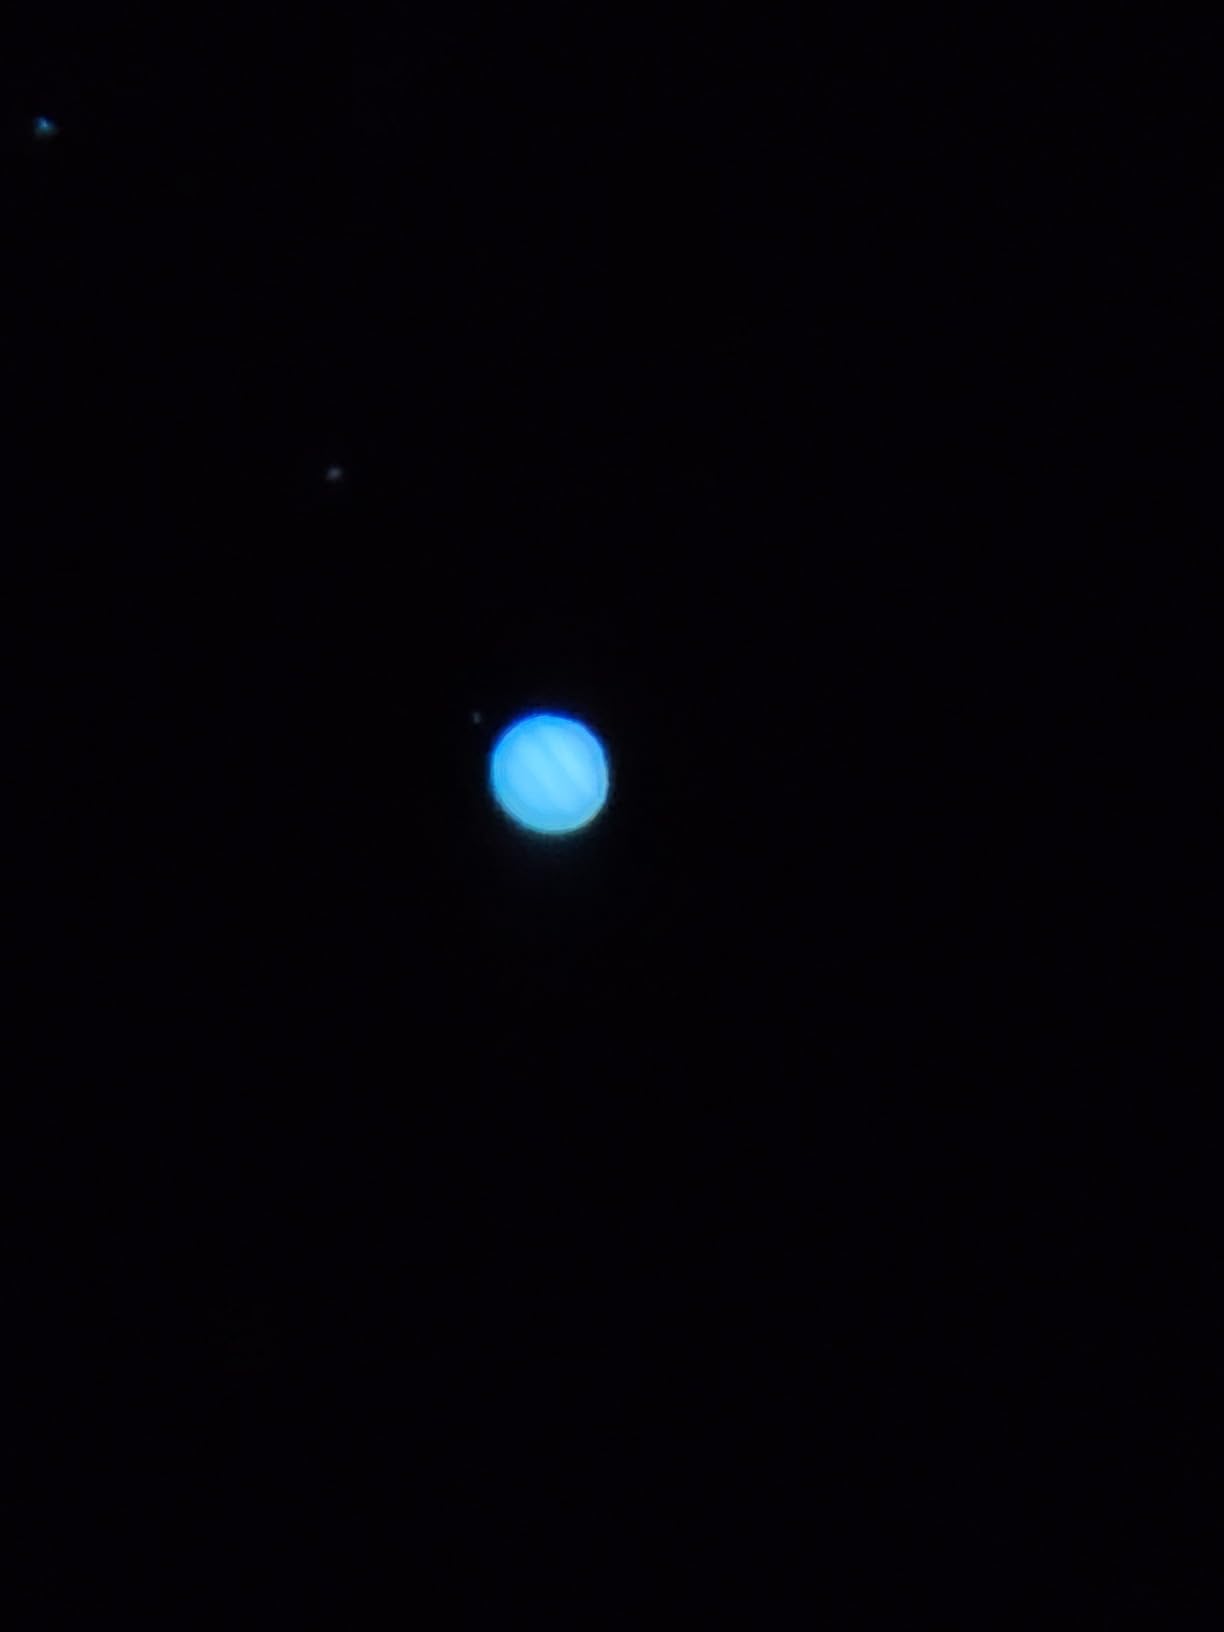
The NexStar 8SE is the scope owners describe as the step-up instrument, and after living with it for a few weeks we understand why. An 8-inch aperture at 2032mm of focal length gives a slow, forgiving optical design that shows crisp detail on the Moon, resolves Jupiter into banded belts and parallels, and opens up globular clusters that smaller instruments only hint at. The 0.57 arc second Dawes limit is the sharpest figure of anything we tested.
It ranks first in the catadioptric telescope category on bestseller rankings, which tells you how many people start or step up here. Alignment is the usual Celestron SkyAlign routine: level the fork, point at any three bright objects, and the mount works out where it is pointed. Owners report being operational in minutes rather than evenings, which is the whole point of buying a computerized mount.
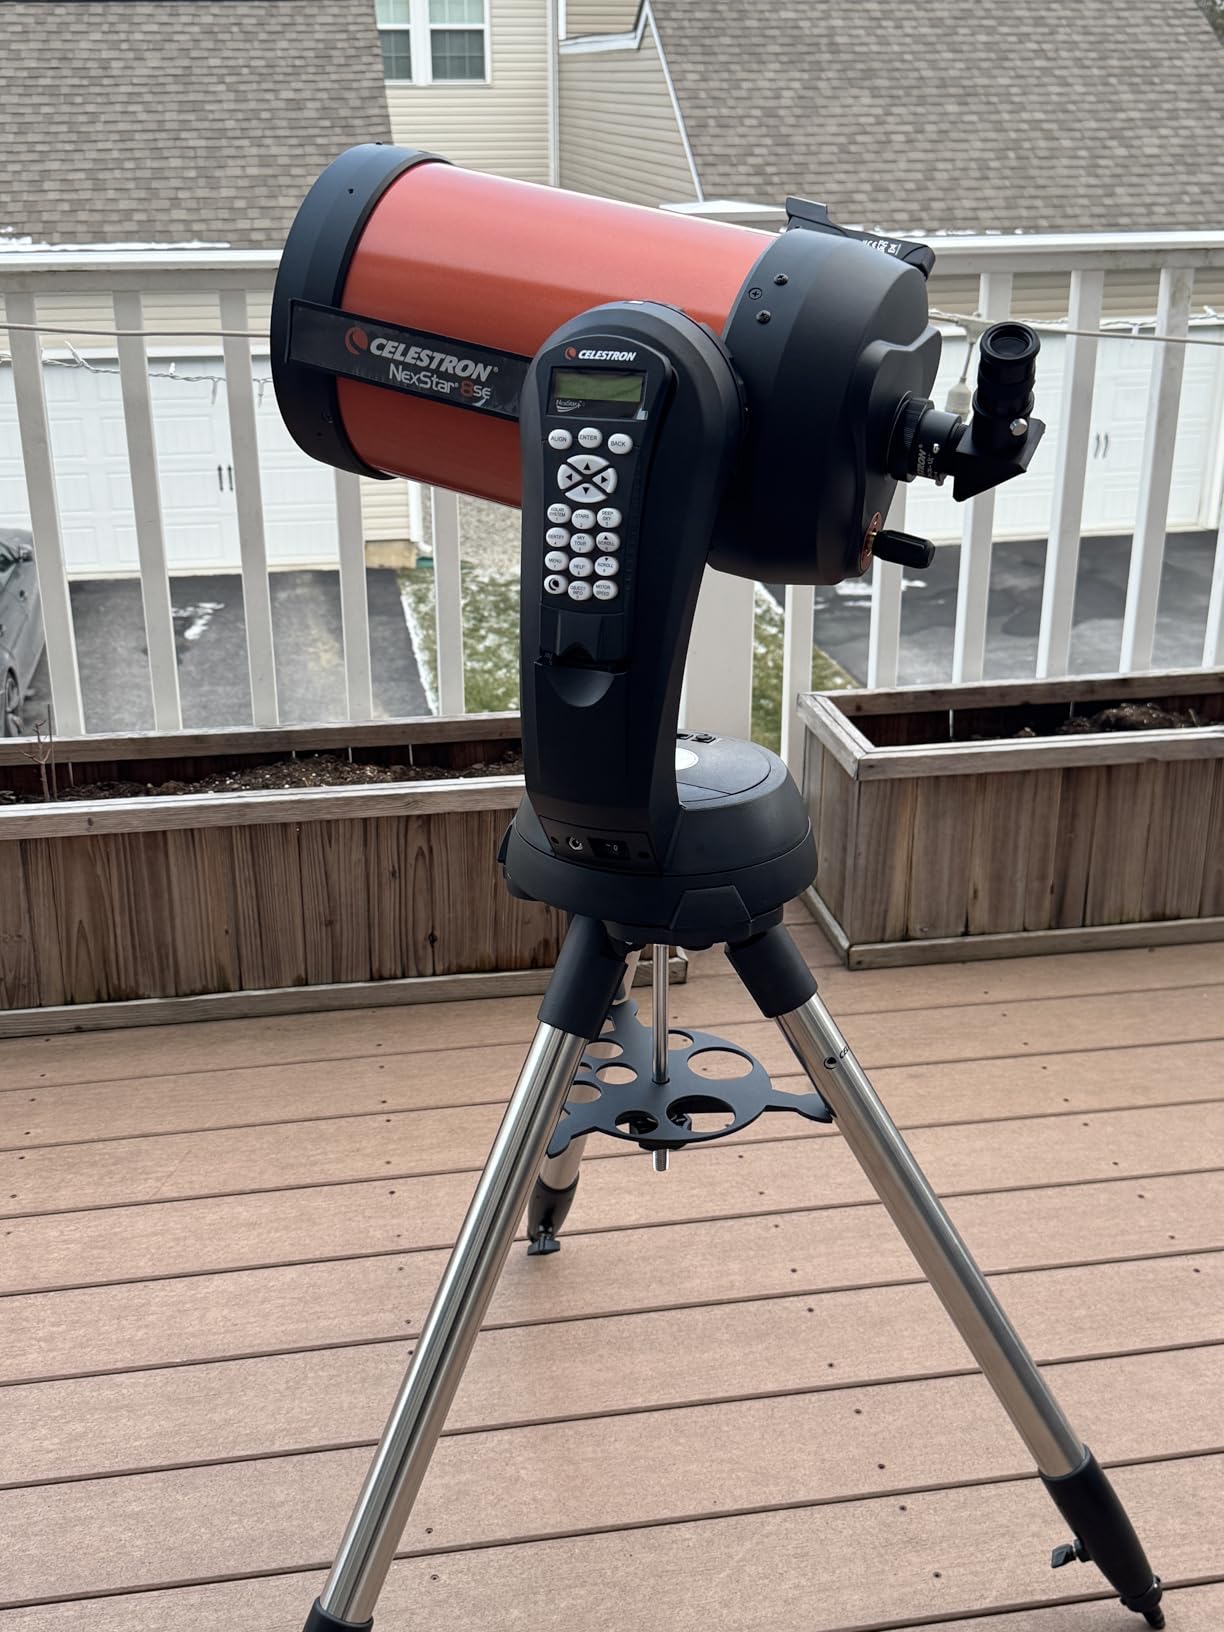
The honest catch is power. The mount runs on 8 AA batteries, a 12v AC adapter or an external PowerTank, and none of those come in the box. Owners on r/telescopes describe this as the single most repeated practical complaint in the category: you set up for a long winter evening, the batteries flatten, and you are back to manual pointing with cold fingers. Budget for a power source before the first session.
Eyepieces are the other quiet limitation. A single 25mm eyepiece is included, and on a 2032mm focal length that gives roughly 81x. The useful magnification ceiling for an 8-inch aperture is around 400x, so there is a lot of unused headroom that needs a Barlow and a set of eyepieces you will buy separately.
Who the NexStar 8SE suits
It suits the adult beginner who is certain this hobby will last, and the beginner who wants to grow into astrophotography later. With adapters and accessories it becomes a full imaging platform, and owners consistently describe it as a scope that stays interesting for years rather than one that ends up in a cupboard.
It also suits anyone observing from a light-polluted backyard who has been disappointed by small apertures. More light is the only real answer to faint targets, and an 8-inch aperture is a genuine step up in what you can see from the city.
Who should skip it
Skip it if this is an unbudgeted purchase or a surprise gift, because the cost puts it beyond what most first telescopes should cost. It is also awkward to move: 24 lb means one person and a car, not one person and a dark-sky field 20 minutes away.
Photography through a fork arm is a fight, so if deep-sky imaging is the main reason you are buying, spend the money on a tracking equatorial mount and a shorter tube instead. And if your family wants to put eyes to the eyepiece on a whim, consider something lighter before you commit.
2. Celestron NexStar 127SLT – Compact Maksutov-Cassegrain with GoTo
Celestron NexStar 127SLT Maksutov-Cassegrain Computerized GoTo Telescope
Aperture: 127mm
Focal length: 1500mm
Mount: computerized alt-az fork
Weight: 18.1 lb
Pros
- 40000+ object database with automatic slew and tracking
- SkyAlign gets you observing without knowing star names
- Compact 27 inch tube that fits in most car boots
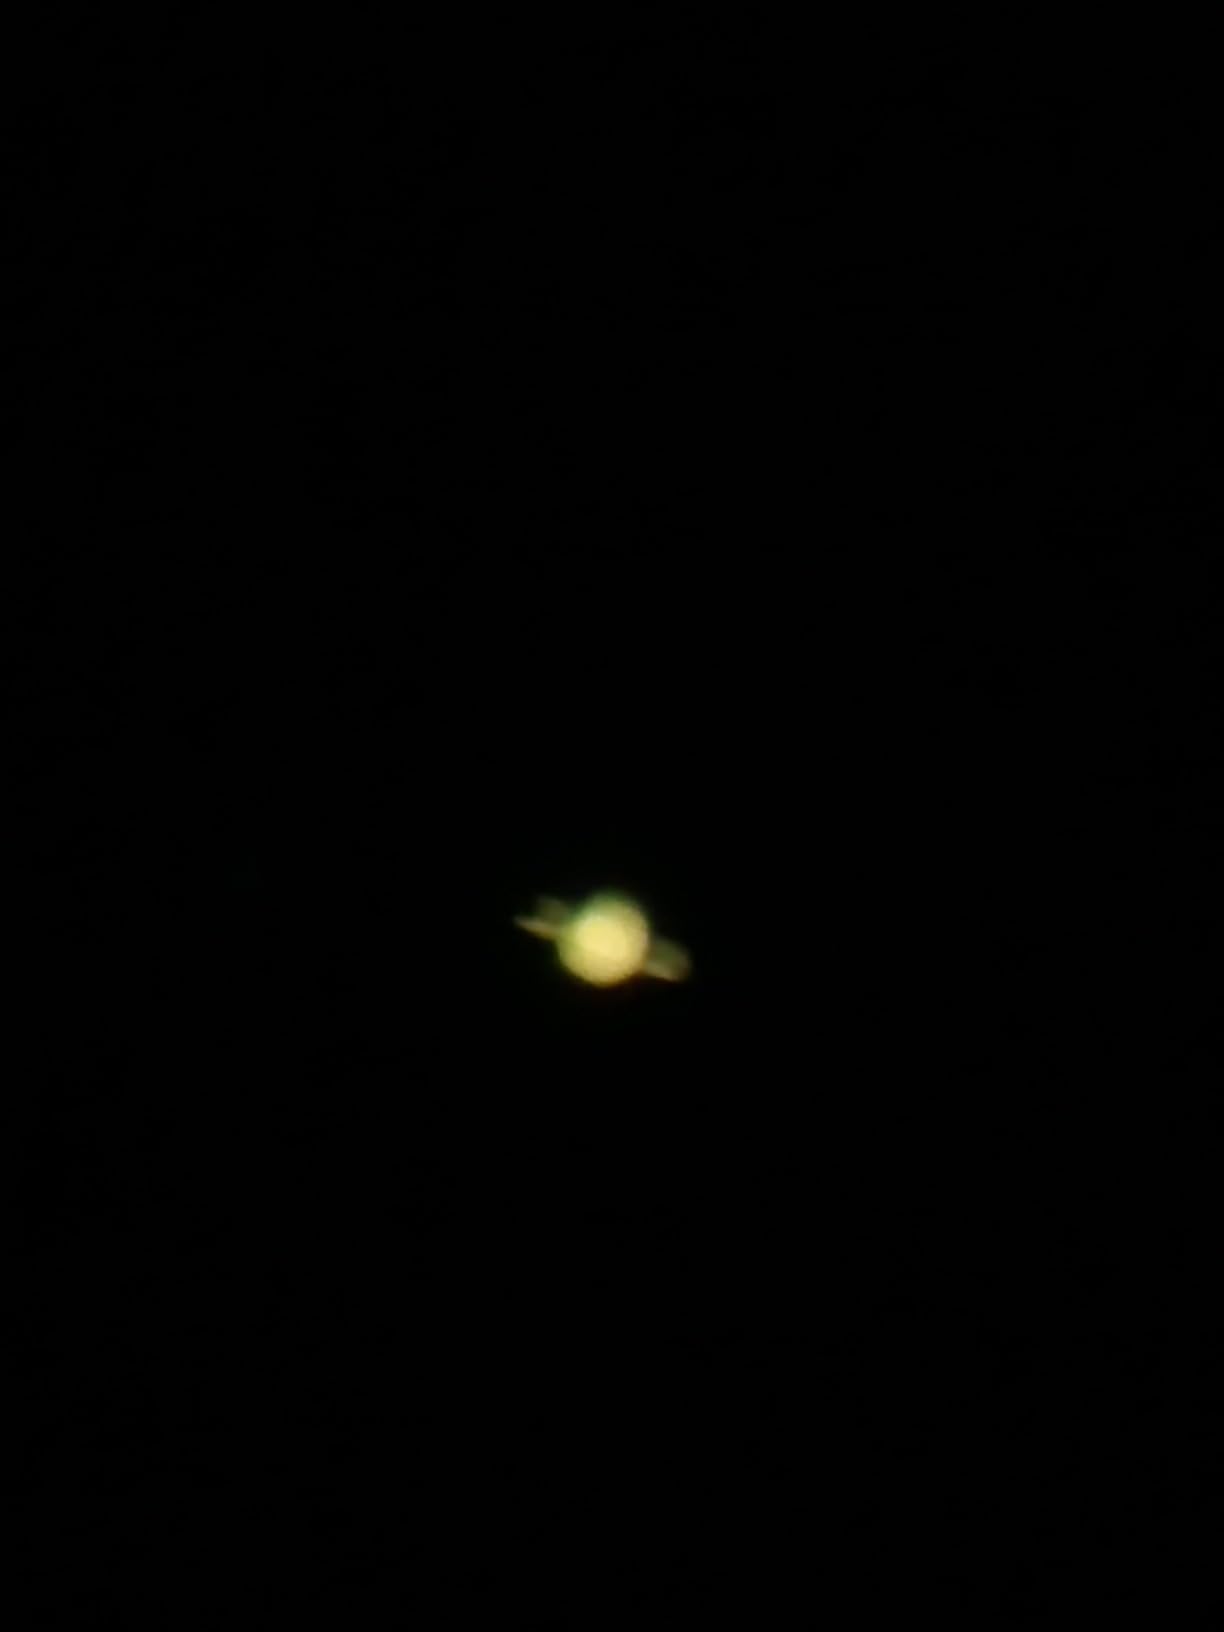
- Sharp views of Saturn's rings and the Orion Nebula
- Free Starry Night software included
Cons
- Battery power runs out during long evening sessions
- 9mm eyepiece and 127mm aperture cap planetary detail
- Fork arm needs careful balancing as you add accessories
This is the Maksutov-Cassegrain in the Celestron line and it is the one we would actually recommend first. The 127mm aperture gathers enough light for a satisfying look at Saturn, Jupiter’s belts and the Orion Nebula, and the compact 27 inch optical tube is short enough that the whole 18.1 lb setup packs into a boot with the tripod in a separate bag.
The GoTo experience is the same proven SkyAlign routine as the bigger scopes. The NexStar+ hand control carries a database of more than 40000 stars, galaxies and nebulae, and the mount both slews and tracks. That combination matters more than the raw database size: owners report that leaving objects centred while they look at them removes a whole layer of frustration that a manual scope cannot.
A Maksutov mirror needs periodic collimation, which sounds alarming and mostly is not. Owners on cloudynights.com describe it as a ten-minute job with a cheap collimation tool once or twice a year, and the reward is sharper views across the whole field than you get from most refractors at this aperture.
What you get in the box is enough to start: a 20mm and a 9mm eyepiece, a StarPointer red dot finder, a star diagonal and the accessory tray. The exit pupil at maximum useful power is a little over 3mm, which is why planetary detail has a ceiling compared with larger scopes. Treat that as a limit, not a defect.
Who the NexStar 127SLT suits
It suits the beginner who wants a genuine GoTo experience but travels, camps or visits dark-sky sites. Reviewers call it light enough for one adult to move to a site after dark, which no 8-inch scope here can claim.
It also suits anyone who will be outdoors on mains power sometimes and batteries other times. Just plan for the battery case, because long sessions on the internal batteries are the most common complaint in the reviews.
Who should skip it
Skip it if your priority is fine planetary detail or the faintest deep-sky objects. A 127mm aperture with a 1500mm focal length is a comfortable, wide, forgiving instrument rather than a planet-hunter, and adding optics will not change that.
Skip it if you plan serious astrophotography on a fork-mounted catadioptric without buying wedges and adapters. It is a visual instrument first, and one of the three mounts that limits what you can attach later.
3. Celestron StarSense Explorer LT 114AZ – App-Guided Newtonian for Families
Celestron StarSense Explorer LT 114AZ Newtonian Smartphone Guided Telescope
Aperture: 114mm
Focal length: 1000mm
Mount: manual alt-az
Weight: 10.4 lb
Pros
- StarSense app points the scope for you with no star charts
- Phone lists tonight's best targets for your location
- 10.4 lb and preassembled tripod are easy to carry
- Sharp vivid views of the Moon and the bright planets
Cons
- Manual mount means targets drift and need re-centering
- Supplied 10mm eyepiece vibrates at high power
- 4.5 inch aperture caps faint deep-sky targets
- Phone must stay docked for reliable pointing
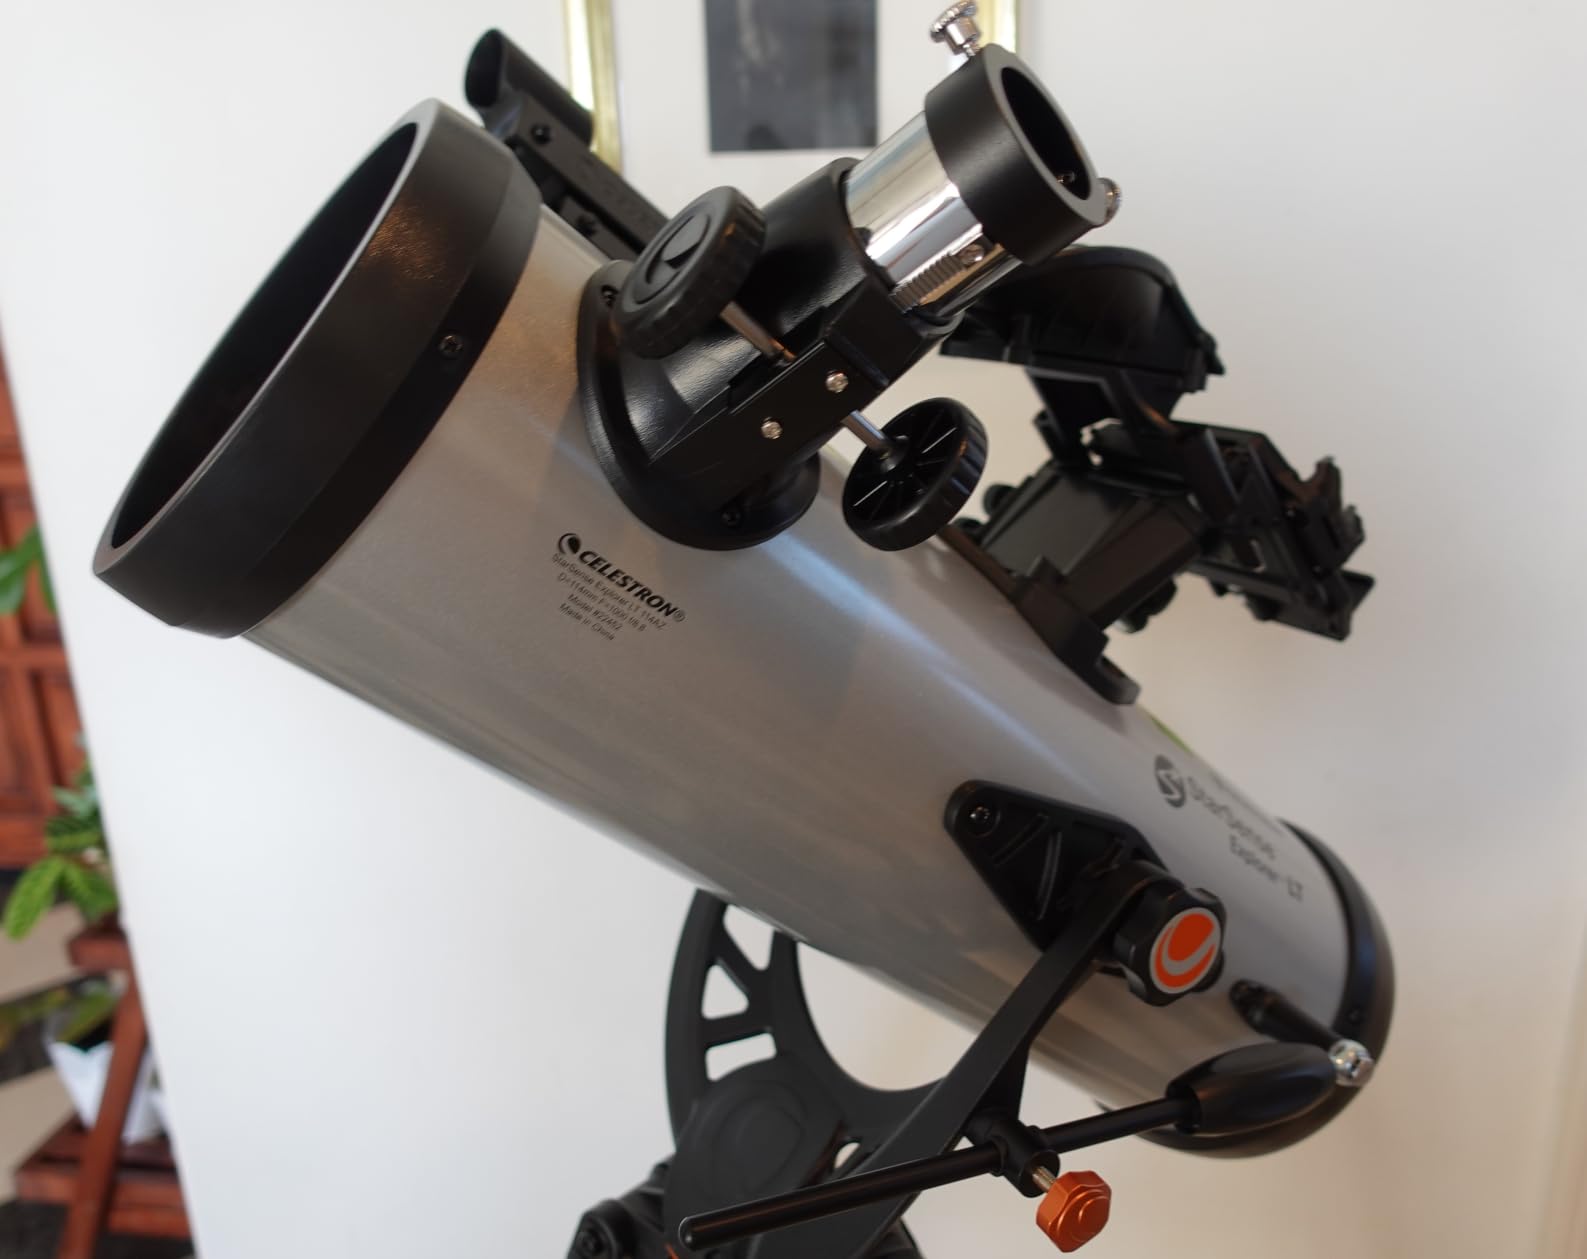
Of everything we tested, this is the scope we would most happily hand to a child, because it is still working six months later in most families who buy it. There is no alignment routine to fear, no polar alignment, no hand controller to lose. You dock your phone in the tray, launch the app, and it analyses star patterns above you and tells you which way to push the tube.
Owners report first looks at Saturn’s rings and the Andromeda galaxy on the first evening out, which is a genuinely good outcome for a beginner’s first night. The app also curates a target list for your location and time, so a family without any astronomy knowledge still gets pointed at something worth looking at.
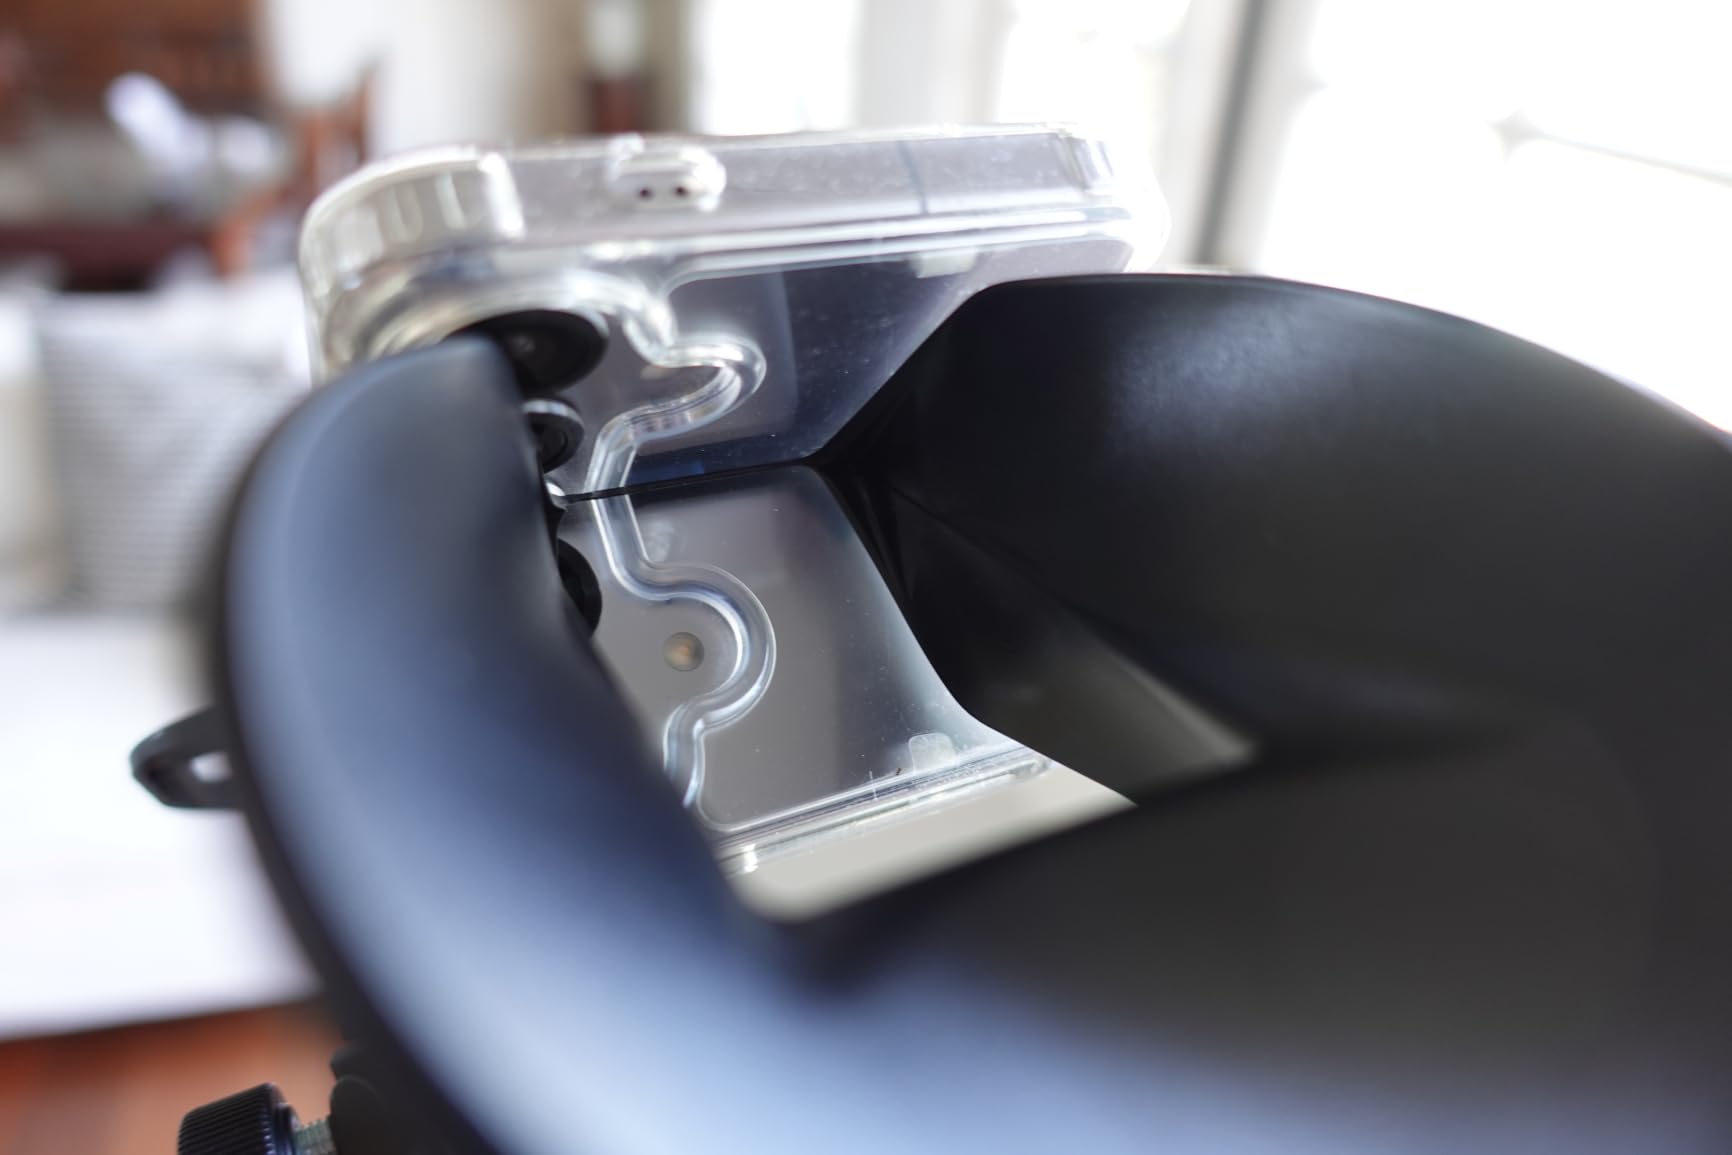
The compromise is real and worth stating plainly. There are no motors, so once an object is centred it drifts as the sky turns, and at higher magnification the drift is fast. You correct it with the altitude slow-motion knob, which works but demands a certain concentration that not every eight-year-old has.
The 4.5-inch Newtonian mirror with aluminium and SiO2 coatings gives vivid lunar and planetary views, and a 2x Barlow is included alongside 25mm and 10mm eyepieces. But a 1.02 arc second Dawes limit means this is not the scope for splitting tight doubles or pulling out galaxy detail, and reviewers are candid about that limit.
On power, this is the simplest setup here: one included lithium battery is listed as the only power requirement, and the main tube has no motorised electronics to drain. That single fact removes the complaint that follows computerized mounts everywhere else on this list.
Who the StarSense Explorer suits
It suits a child aged roughly 8 to 13, a family buying a first telescope together, and anyone who dreads alignment as a concept. At 10.4 lb it is light enough for most teenagers to lift, carry and set up unaided.
It suits observers from heavily light-polluted cities, because the app does the finding so you are not hunting for a faint smudge through haze. And with no motors and no battery-hungry controller, it is the least fussy setup for spur-of-the-moment observing.
Who should skip it
Skip it if you are an experienced observer who wants long, uninterrupted looks at one object. Manual re-centering every few minutes is unbearable once you know what the view is meant to look like, and experienced posters make exactly this point on the forums.
Skip it if your phone is the wrong size for the cradle, or if you plan to observe somewhere cold where the phone battery drains and the pattern recognition fails. It is also the wrong pick if you want any imaging beyond holding your phone up to the eyepiece.
4. Celestron AstroMaster 130EQ-MD – Equatorial Tracking Without GoTo
Celestron AstroMaster 130EQ-MD Telescope with Motorized Tracking
Aperture: 130mm
Focal length: 650mm
Mount: CG-3 equatorial
Weight: 17 lb
Pros
- RA motor drive keeps objects centred automatically
- 130mm aperture gives clean Moon and planetary views
- True equatorial mount tracks longer than an alt-az mount
- No-tool assembly with an adjustable tripod
- StarPointer red dot finder included
Cons
- Motor drive blocks manual use of the RA fine knob
- CG-3 mount has slop and knobs that work loose
- Shaky tripod undermines high power and long exposures
- Spherical primary bloats stars versus a parabolic mirror
- Factory 20mm eyepiece is limited
This one is not a GoTo scope and that is the point. The AstroMaster 130EQ-MD is the only dedicated equatorial mount in the group, and the only pick where you aim the tube by hand while a motor keeps the object tracking. You still point it yourself. You do not have to keep pointing it.
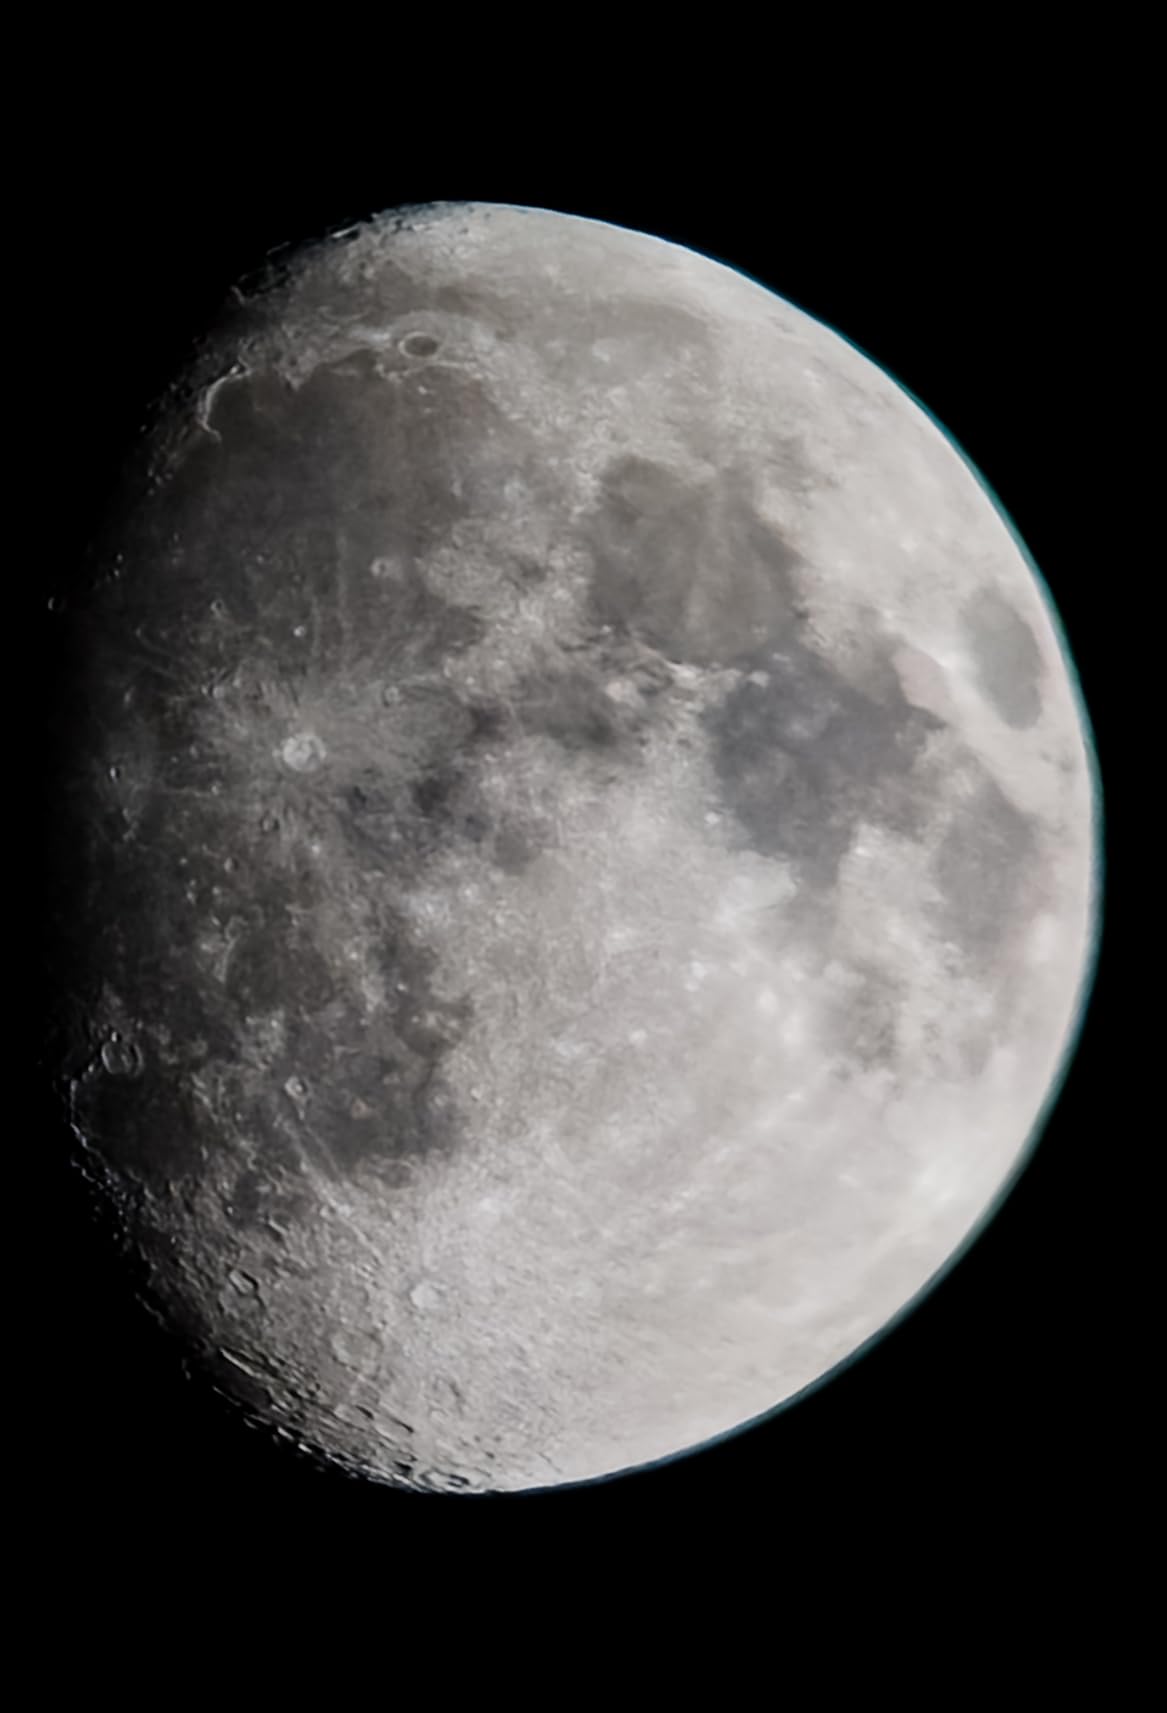
With 1937 reviews it has the largest owner base of any product here, and the pattern in those reviews is consistent. People value it as an affordable first step into tracking, using it for short phone exposures of the Moon and planets where alt-az tracking would smear the frame. The 130mm mirror with aluminium and SiO2 coatings gives good views with no colour fringing, which is the usual complaint about cheap refractors.
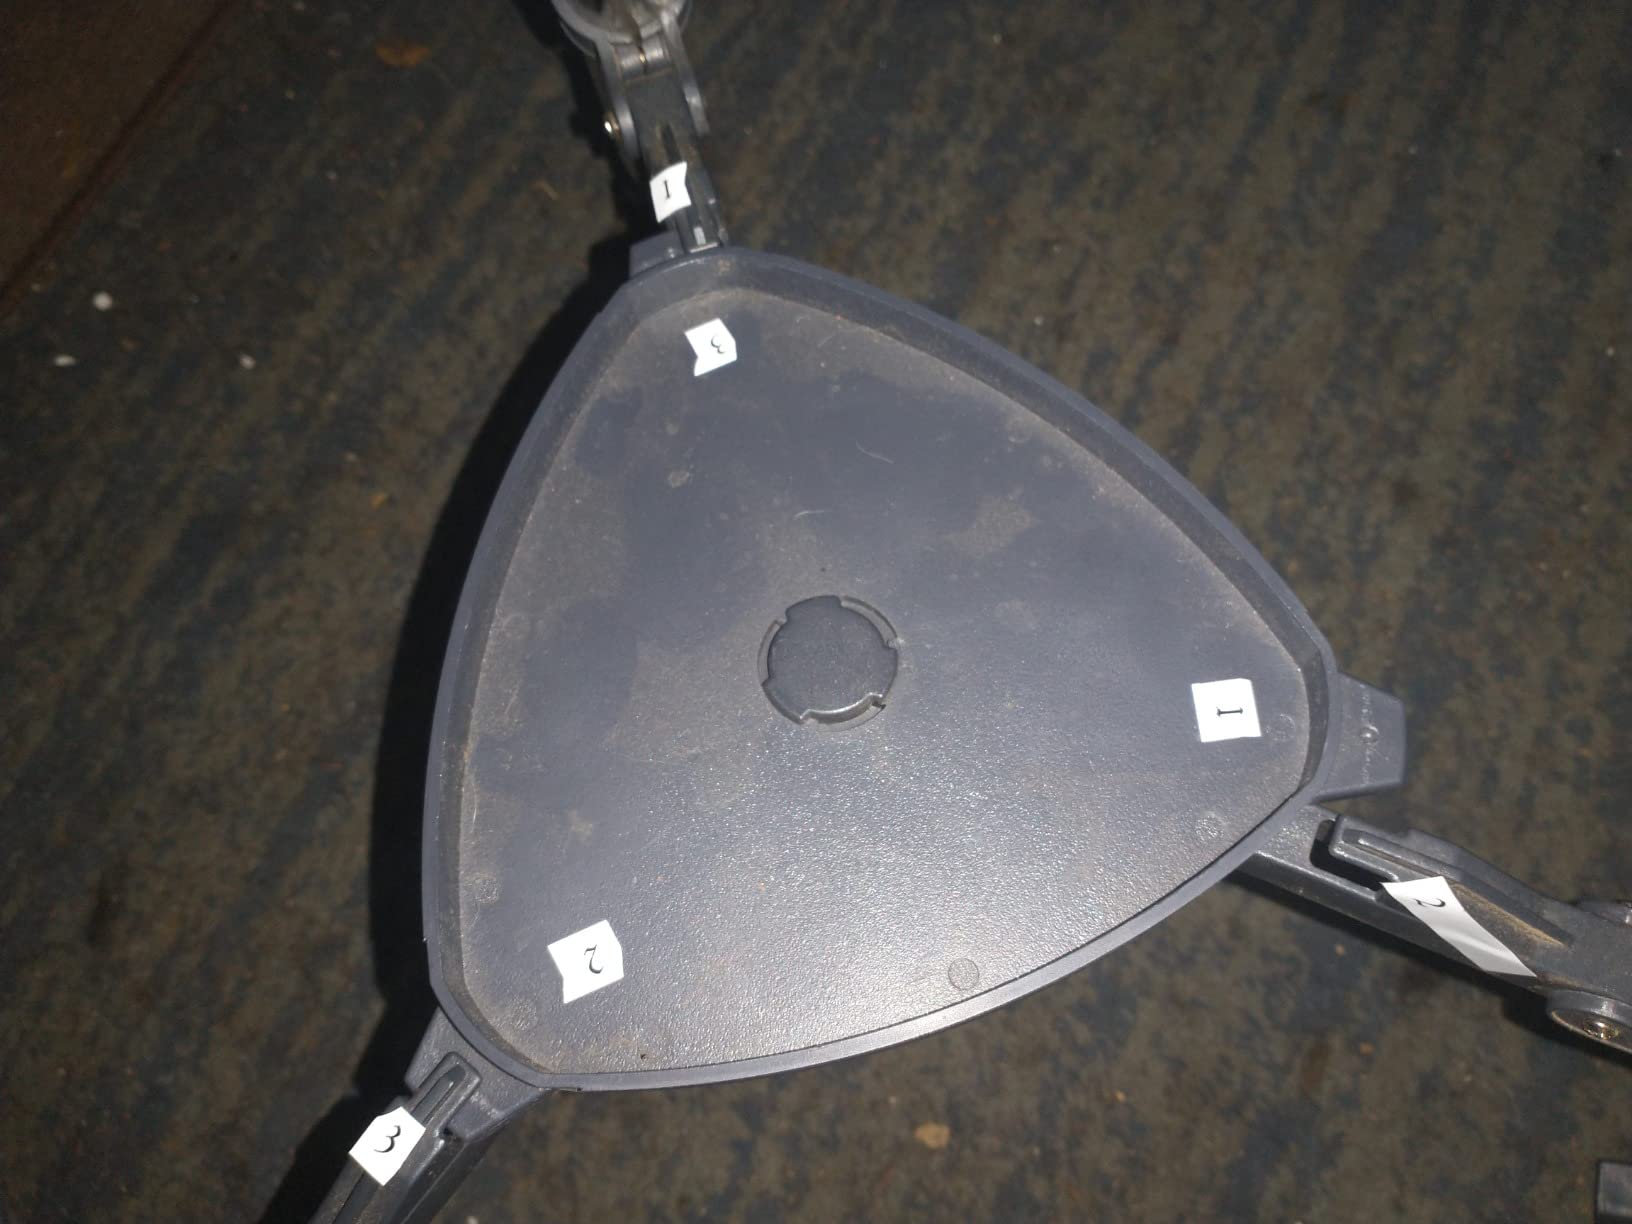
Now the part we would not skip. The CG-3 mount is among the weakest components in this whole roundup, and owners say so without prompting. There is play in the controls, tight spots, and knobs that loosen. Several reviewers note the motor drive physically blocks manual use of the right-ascension fine adjustment, which is an odd design choice on a mount sold partly for fine control.
The tripod is also criticised for shake at high magnification and during long exposures, which defeats the point of a tracking mount. And the primary is spherical rather than parabolic, so stars look slightly bloated at the edge of field compared with the Newtonians that cost less.
Polar alignment is a genuine learning curve for a first-timer. Experienced users recommend starting on the motorized alt-az scopes and moving to an equatorial only once polar alignment stops being intimidating, which is exactly the trade-off this pick makes.
Who the AstroMaster 130EQ-MD suits
It suits a beginner who already understands how to find things by eye, or who has a mentor, club or willing adult to help with polar alignment on night one. It also suits anyone who wants to graduate to long-exposure imaging later without buying a second mount.
At a shorter 650mm focal length it suits beginners who want a wide field, so the Pleiades and Andromeda both fit in one view. The built-in erect-image corrector in the 20mm eyepiece makes it fine for daytime and terrestrial use too.
Who should skip it
Skip it if you want the database and one-button pointing. There is no hand controller and no object list, so every session starts with you finding targets yourself. If that is the part you are buying a computerized telescope to avoid, this is the wrong product.
Skip it if you are sensitive to build quality, because reviewers repeatedly report loose or seizing controls, and if you need rock-steady tracking for long exposures, because the tripod will not hold it. The 17 lb weight also makes it a two-person job to move outside.
5. ZWO Seestar S30 Pro – All-in-One Smart Imaging Telescope
ZWO Seestar S30 Pro Smart Telescope, App-Controlled Astrophotography
Aperture: 30mm
Focal length: 160mm
Mount: alt-az with EQ mode
Weight: 3.6 lb
Pros
- Power on
- connect the app and start imaging with no alignment
- Automatic GoTo finds and tracks objects hands-free
- Dual cameras give a wide 4.6 degree field and 4K stills
- Built-in light pollution filters suit urban skies
- 3.6 lb with anti-dew protection for all-night sessions
Cons
- Built for deep-sky imaging rather than planetary viewing
- Must stay perfectly still during long exposures
- Image quality depends on stacking time in the app
- No eyepiece
- so there is no live view for anyone else
The Seestar S30 Pro is a different instrument from anything else on this list, and it is the one to buy if the goal is photographs. Power it on, connect to the app, and the dual-camera system plate-solves and slews to a target on its own. There is no alignment procedure to learn and no star chart to interpret, and it weighs 3.6 lb.
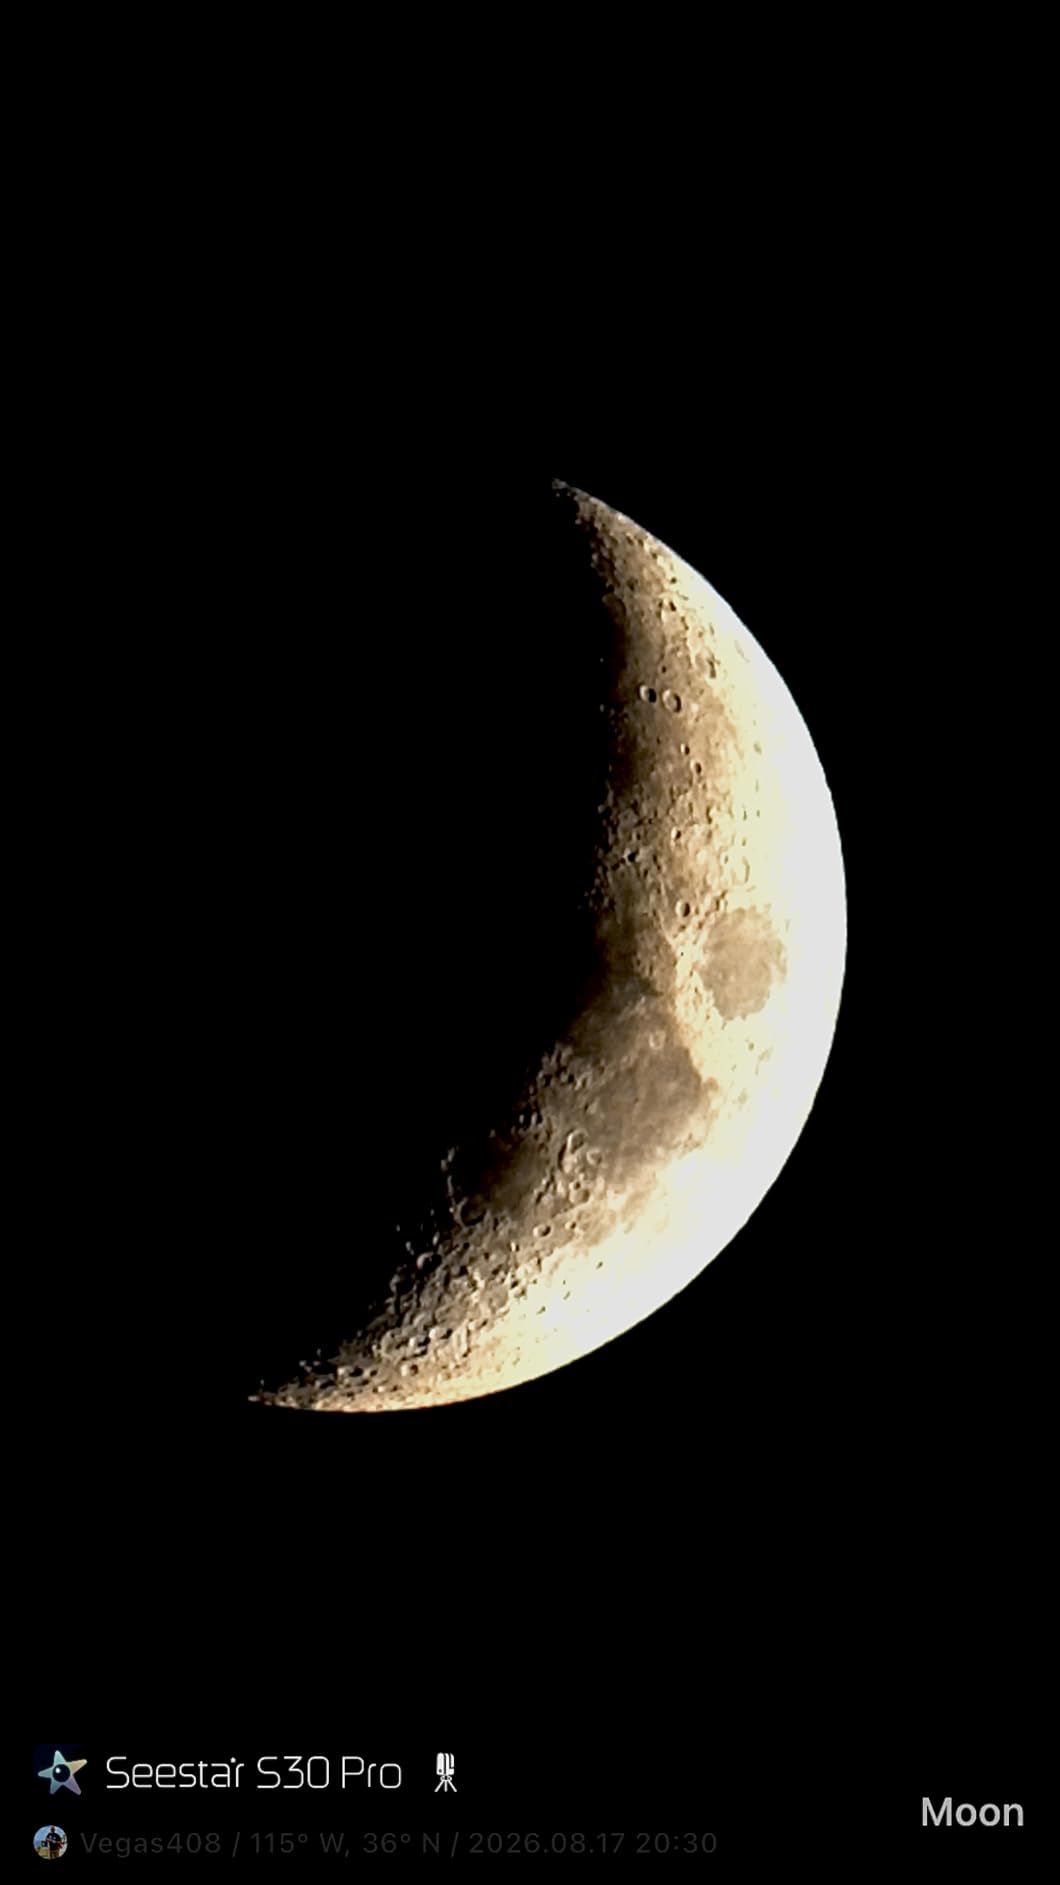
One-tap modes cover Milky Way panoramas, star trails, nebulae, galaxies, the Moon and the Sun, with automatic mosaic stitching and sky-to-foreground separation. Owners report usable deep-sky results from a first session, and the built-in light pollution filters are the reason this works at all from a suburban or city balcony.
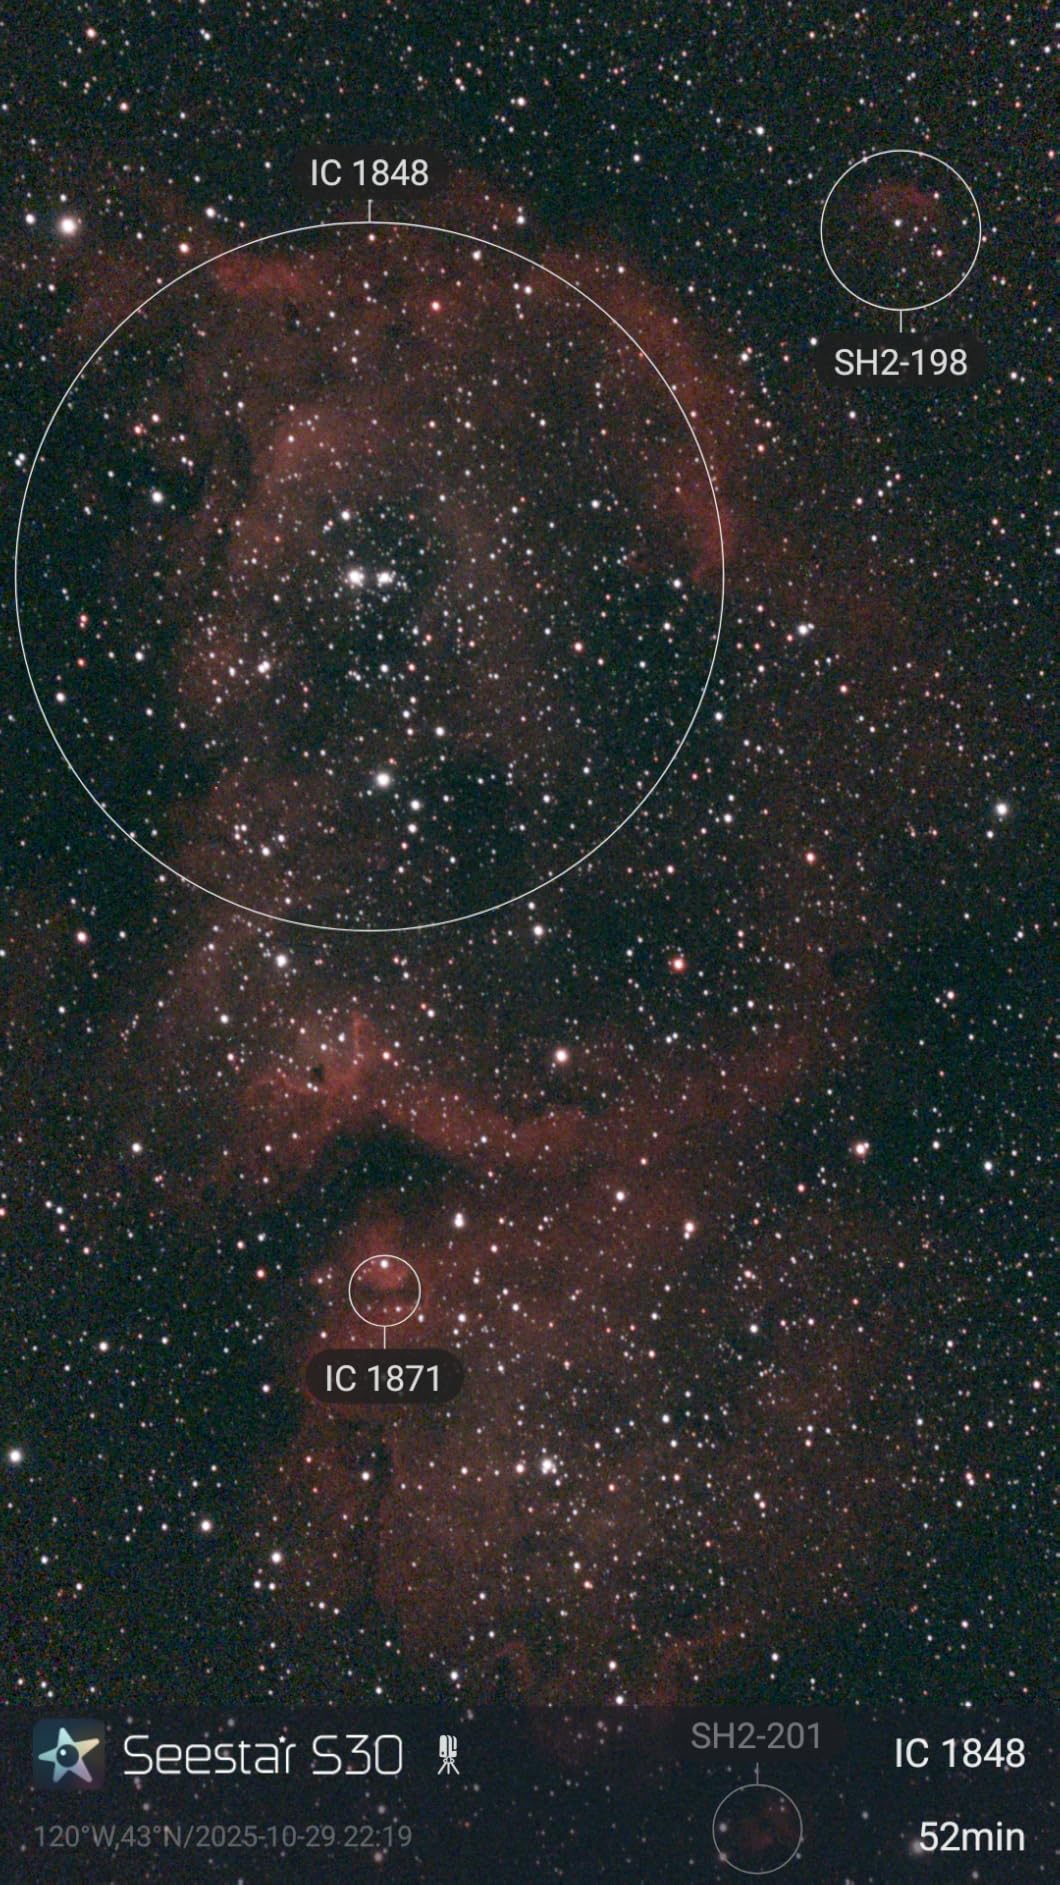
The apochromatic optics at 160mm focal length give a genuinely wide 4.6 degree field, which is why whole nebulae fit in one frame. The equatorial mode converts the alt-az tracking into something usable for longer exposures, which is where the difference between a snapshot and a real image comes from.
The honest framing: you never look through an eyepiece. There is no live view to hand a child, no view to share on a cold evening except a phone screen held in the cold. And the app does much of the work for you, which is exactly what you want and exactly what enthusiasts argue about. Longer deep-sky results also depend on stacking time, so a great image takes more than one clear night.
Battery power and anti-dew protection make all-night sessions viable, and at 3.6 lb the whole setup is small enough to travel with without thinking about it.
Who the Seestar S30 Pro suits
It suits a complete beginner who wants astrophotography results on night one, and it suits people who cannot easily carry 20 lb equipment to a dark site. It is also one of the few telescopes here that works well indoors through a window on a Moon or planet night.
It suits city dwellers, because the built-in filters are doing real work against sky glow rather than being a marketing line. And it suits anyone who wants shareable images rather than private memories of an eyepiece view.
Who should skip it
Skip it if your family wants to look through an eyepiece at Jupiter’s moons in real time. This cannot do that, and no software mode substitutes for a live view with a group of people around the tube.
Skip it if you want fine planetary detail, since it is designed for deep-sky imaging rather than planetary observation, and if you need to move the scope during a long exposure, because any bump ruins the frame. It is also the wrong first telescope for learning to observe, however good the photographs are.
6. DWARFLAB Dwarf Mini – Pocket-Sized Smart Telescope
DWARFLAB Dwarf Mini Smart Telescope – 1.85lb Portable Astronomy Telescope
Aperture: 30mm
Focal length: 150mm
Mount: alt-az and EQ
Weight: 1.9 lb
Pros
- Plate-solving auto GoTo finds and tracks with no star charts
- Stacked deep-sky images from a bright suburban sky
- 1.9 lb body fits in a jacket pocket
- App handles stacking and processing for beginners
- EQ mode walks you through polar alignment for 90 second exposures
Cons
- Sensor resolution too low for large prints or planets
- Planets appear as small undifferentiated disks
- Wi-Fi connection can drop and needs a settings change
- Needs a fluid head tripod and power bank for EQ mode
- Software takes time to understand
The Dwarf Mini is the smallest telescope on this list by a wide margin. At 1.9 lb and 7.23 inches tall it fits in a backpack and becomes trivial to pack for a trip to a dark-sky site, which is the point when most people never carry their telescope outside the garden at all.
Underneath is a 1/2.8-inch Sony IMX662 CMOS sensor and a motorised mount with 360 degree pivot freedom. Auto GoTo plate-solves the sky and tracks without any chart work, and the app does the stacking and processing. Owners with decades of conventional telescope experience describe it as delivering a stacked deep-sky image on the first clear night that would otherwise take weeks of gear setup.

The equatorial mode is the surprise for a device this small. It walks you through polar alignment and gives exposures up to 90 seconds, with built-in light pollution filters included. A fluid-head tripod and a power bank are needed for real EQ work, which is fair given the body costs about the same as the accessories would.
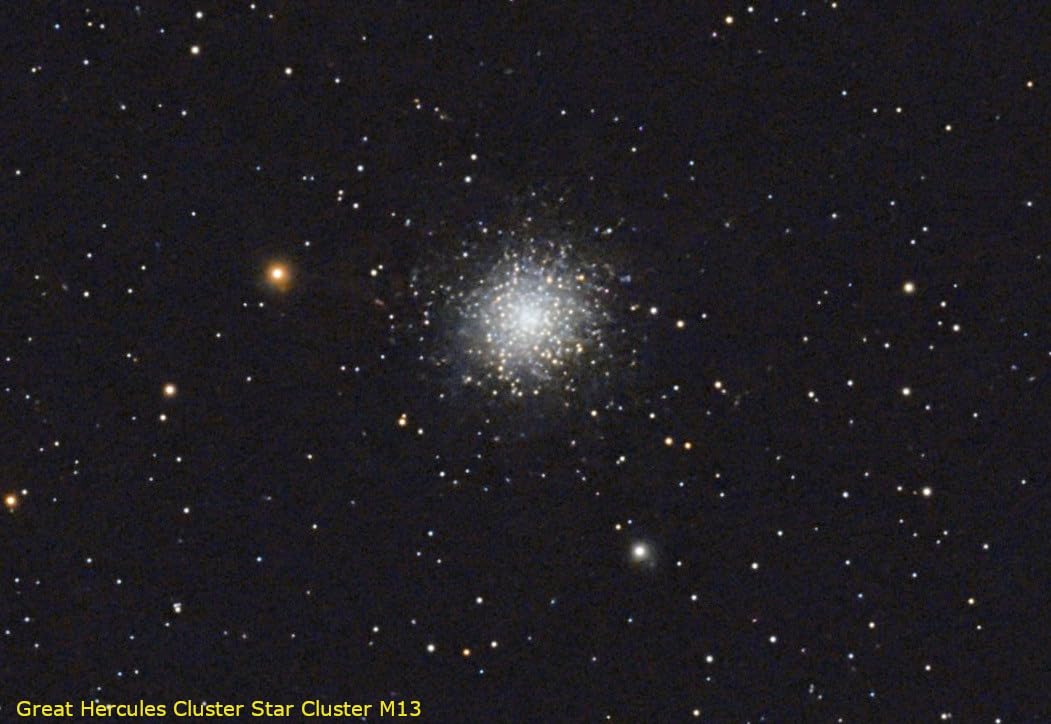
The limits are equally clear from the reviews. Sensor resolution is too low for large prints or fine planetary detail, and planets show as small undifferentiated disks. The Wi-Fi connection to the app can drop and needs a settings workaround, and the software takes a while to understand if you have never used an imaging app before.
The box includes the telescope, a filter, a USB-C cable and a cleaning cloth. There is no eyepiece and no tripod in the box, which is why the weight is what it is.
Who the Dwarf Mini suits
It suits beginners who travel, attend star parties or want the smallest possible excuse to go outside. It also suits anyone who wants an automatic GoTo telescope with a real object database without paying for a fork mount and a hand controller.
It suits the family astrophotographer, because the app does the stacking and the imaging, not the child. And at 1.9 lb a teenager can carry it to a dark site on their own and still come back with real images.
Who should skip it
Skip it if you want to look through an eyepiece at all, since it has none, and skip it if you want printable or large images, because the sensor resolution will disappoint anyone comparing it to a camera.
Skip it if your targets are planets rather than nebulae, and if you are not willing to spend time in the app to understand its modes. It is a specialist imaging tool, not a general first telescope, and treating it as one is how people end up disappointed.
How to Choose Your First Computerized Telescope
Prioritise aperture over electronics. Forum consensus is almost unanimous on this: spend more on aperture and less on motors. A 4.5-inch scope that finds objects will show you a small fuzzy patch; a large scope you point by hand will show you the object. Electronics buy convenience, never light.
Use the 2x-per-millimetre rule. The highest useful magnification is roughly twice the aperture in millimetres. A 114mm aperture tops out near 228x, a 127mm near 254x, a 130mm near 260x and the 203mm 8-inch near 400x. Anything beyond that just spreads light and shows you a dim, blurry image, which is why vendor magnification claims are worth ignoring.
Decide between eyeballs and a screen before you spend. If the purchase is about showing people Saturn, you need an eyepiece, which rules out the Seestar and the Dwarf Mini. If it is about producing images of the Milky Way, you want the smart route.
Read the power spec before anything else. A mount that runs flat mid-session ruins the evening. Check whether an AC adapter is included, because on several scopes here it is not. The StarSense Explorer and the two smart telescopes have the simplest power stories.
Check the weight honestly. Anything over 20 lb is a two-person job to carry outside, and owners consistently cite this as the moment a computerized scope stays in the garage. Family forums describe lighter scopes as the ones a teenager can actually set up alone.
Understand the alignment you are signing up for. SkyAlign-style routines are the gentlest because they ask you to center three objects rather than name stars. Two-star alignments are quicker. Equatorial polar alignment is the hardest and should be your second or third telescope, not your first.
Do not trust the database number. 40000+ objects sounds impressive, but your aperture and your sky set the real limit. Nobody with a 4.5-inch scope sees 40000 objects. Judge pointing accuracy and tracking quality instead.
What to avoid: reflectors advertised as maintenance-free when they still need collimation, tripods that wobble at moderate magnification, apertures under 70mm, and anything sold as astrophotography-capable when it has no motor. Our beginner instrument buying guides follow the same rule we apply here: if the listing never mentions a drawback, keep looking.
What It Really Costs to Own a Computerized Telescope
The scope is the starting point, not the total. Beginners consistently report three surprise costs within the first year, and all three are avoidable if you plan for them.
Power. The most repeated complaint across r/telescopes and stargazerslounge.com is batteries flattening mid-session. On the NexStar 8SE and 127SLT you need either an AC adapter or an external power tank, and neither is in the box. Budget for that on day one rather than discovering it in the dark.
Eyepieces. The included eyepieces are entry level. A Barlow plus one or two mid-range eyepieces will unlock most of the aperture you paid for, and on a long-focal-length design like the 2032mm 8SE they are what turn a wide low-power view into a planetary one.
Dew control and collimation. A cheap dew heater band matters more than most people expect in humid months, because a wet secondary mirror blurs everything. For the Newtonian designs and the Maksutov, budget for a collimation tool once and use it twice a year.
Smart telescopes have a different running cost: a fluid-head tripod and a power bank for EQ mode. Neither is in the box, and both are required for the long-exposure modes the marketing leans on.
Does GoTo Stop You Learning the Sky?
It is the question experienced users raise most often, and the honest answer is no, provided you use one deliberately. Pointing at a database object and looking at it teaches you that an object exists and roughly where in the sky it lives. That is a real start, and for many beginners it is the difference between looking up once and looking up repeatedly.
The mistake is letting the scope find everything for years. Scope guides make the same recommendation: spend some sessions with the motors idle, star-hop from a bright naked-eye anchor to your target, and learn the neighbourhood. Twenty minutes of manual finding a month is enough.
There is also a myth worth killing. GoTo does not improve image quality or reveal anything a manual scope of the same aperture would not. It removes the pointing problem. If a beginner buys a computerized scope expecting brighter, sharper images, disappointment follows; if they buy it to stop hunting through light pollution, it delivers.
One more honest point on the smart category: owners of all-in-one smart telescopes frequently note the app does most of the thinking. That is the point, but it means you learn less about the sky than with a manual or GoTo eyepiece scope. Nothing is wrong with that trade, as long as you make it knowingly.
Frequently Asked Questions
What are computerized telescopes?
A computerized telescope has electronics in its mount that point it at, and sometimes track, a celestial object for you. You enter your location, choose a target from a built-in object database, and the motors slew the tube there and hold it steady. You still look through an eyepiece on most of them, so you still see with your own eyes.
What is the best GoTo telescope for a beginner?
For most first-time buyers the Celestron NexStar 127SLT is the balance point: a 127mm aperture, a 40000+ object database, SkyAlign that asks you to centre three objects rather than name stars, and an 18.1 lb package one adult can carry outside. If you can stretch the budget and will stay with astronomy, the 8-inch NexStar 8SE shows far more.
What is the best smart telescope?
Among the two we tested, the ZWO Seestar S30 Pro is the stronger all-round smart scope. Its dual cameras, 4.6 degree field and built-in light pollution filters produce usable deep-sky and Milky Way images from suburban skies on a first session. The DWARFLAB Dwarf Mini wins on portability at 1.9 lb but has a lower-resolution sensor.
Are smart telescopes worth it?
They are worth it if your goal is photographs and you cannot face polar alignment or long-exposure gear. They are not worth it if you want to look through an eyepiece at Jupiter with a family, because there is no live view to share. They also cost more per unit of aperture than a manual Newtonian.
How much does a telescope typically cost for a beginner astronomer?
Spend in tiers. Under the entry point, you get shaky mounts and no tracking. In the mid tier you get a real GoTo mount, an aperture around 114mm to 130mm and app or controller pointing, which is where most beginners should sit. Higher tiers buy aperture and catadioptric optics that pay off over years rather than months.
What makes a good telescope for beginners?
A stable tripod, an aperture above 70mm, a straightforward alignment routine, and a mount you can carry to where you will actually observe. Include eyepieces and a finder in the box. Avoid anything sold as maintenance-free that is a reflector, and avoid mounts whose vibration you can see at moderate power.
Which telescope is best for deep space viewing?
Aperture decides this, and nothing else does. Deep-sky objects are faint, so light gathering is the limit, which puts the 8-inch NexStar 8SE ahead of everything else here. Its 2032mm focal length suits planetary and small deep-sky targets; if wide fields matter more, a shorter 650mm design frames the Milky Way better.
Can I bring a telescope on an airplane?
Yes, provided you check the tube down rather than carrying it assembled. The DWARFLAB Dwarf Mini at 1.9 lb and the ZWO Seestar S30 Pro at 3.6 lb are the simplest, since each is a single self-contained body. The NexStar 8SE splits into an optical tube and fork mount but at 24 lb total it is a checked-bag job.
Conclusion
The best computerized telescopes for beginners are not one telescope, they are three answers to three different questions. The Celestron NexStar 8SE is our overall choice: 203mm of aperture, a 40000+ object database, SkyAlign that works in minutes, and enough light grasp to make a light-polluted backyard worth using. Buy a power source with it, because none is included.
If one person has to carry it outside, take the NexStar 127SLT, which gives you the same proven GoTo experience at 18.1 lb. If the household includes a child who just wants to see Saturn, the StarSense Explorer LT 114AZ removes every trace of alignment anxiety at 10.4 lb. If the goal is images rather than views, the Seestar S30 Pro from a balcony is the least frustrating route we found.
One last piece of advice from the forums that we agree with entirely: spend your money on aperture, learn the sky a little by hand, and stop worrying about the database number. As with our beginner cello guides, the best instrument is the one that gets played, not the one with the longest specification list.